Tutorial
Getting Started With the Pickleball API in 5 Minutes
18 May 2026 · 5 min read
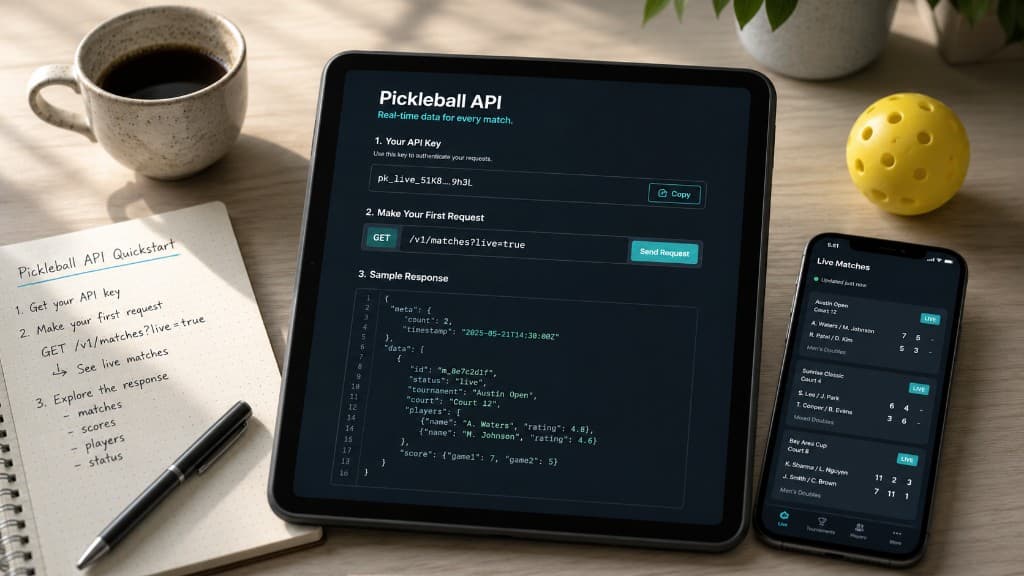
This guide takes you from a new Pickleball-API.com account to your first Major League Pickleball fixture-data response. You do not need an SDK or any previous API experience—just a terminal, an API key and a few minutes.
In this guide
- Create your account
- Copy your API key
- Make your first request
- Find fixtures in progress
- Add live updates
Step 1 — Create your account
Register for a 14-day Pro trial. No payment card is required.
After registering, open the verification link sent to your email address. Your trial API key will not work with the production service until your email has been verified.
The trial includes REST, WebSocket and prediction-market access, so you can test the complete service before choosing a plan.
Step 2 — Copy your API key
Your API key is available from the developer dashboard.
Keys begin with:
pbl_live_
The full secret is shown when the key is created or rotated. Copy it somewhere secure, such as an environment variable or secrets manager.
Do not put the key in public browser code, a mobile app bundle or a Git repository. Your backend should call Pickleball API and return only the data your frontend needs.
For the examples below, create two environment variables:
export PICKLEBALL_API_URL="https://pickleball-api.com"
export PICKLEBALL_API_KEY="pbl_live_YOUR_KEY"
Use the API base URL shown in the documentation.
Step 3 — Make your first request
Every REST request uses your API key as a Bearer token in the Authorization header.
Start by requesting a small list of fixtures:
curl -s "$PICKLEBALL_API_URL/v1/fixtures?limit=5" \
  -H "Authorization: Bearer $PICKLEBALL_API_KEY"
A successful response returns JSON in a consistent envelope:
{
  "data": [
    {
      "id": "0190...0030",
      "status": "scheduled"
    }
  ],
  "meta": {
    "request_id": "req_...",
    "generated_at": "2026-05-18T14:30:00Z",
    "freshness_seconds": 8,
    "completeness": "full"
  }
}
The exact fixture fields will depend on the available data, but the overall response structure remains consistent.
Keep meta.request_id in your logs. It identifies the individual request and is useful if you ever need support.
Step 4 — Find live fixtures
To return only fixtures currently in progress, filter on status:
curl -s "$PICKLEBALL_API_URL/v1/fixtures?status=in_progress" \
  -H "Authorization: Bearer $PICKLEBALL_API_KEY"
An empty data array does not necessarily mean anything is wrong—it may simply mean no MLP fixtures are live at that moment.
Once you have a fixture ID, request the latest scoreboard for every match inside it:
curl -s "$PICKLEBALL_API_URL/v1/fixtures/FIXTURE_ID/live" \
  -H "Authorization: Bearer $PICKLEBALL_API_KEY"
Each returned observation includes two especially useful fields alongside the score:
meta.freshness_secondstells you how many seconds old the underlying data is.sequenceincreases with every observation, helping your app order updates correctly.
You can also retrieve:
GET /v1/fixtures/{id}for the fixture and its sidesGET /v1/fixtures/{id}/matchesfor the lineup matchesGET /v1/matches/{id}/observationsfor the full score history of one matchGET /v1/matches/{id}/gamesfor the game-by-game breakdown
The same request in JavaScript
Here is a small server-side JavaScript example:
const baseUrl = process.env.PICKLEBALL_API_URL;
const apiKey = process.env.PICKLEBALL_API_KEY;

if (!baseUrl || !apiKey) {
  throw new Error(
    "PICKLEBALL_API_URL and PICKLEBALL_API_KEY must be configured."
  );
}

const response = await fetch(`${baseUrl}/v1/fixtures?status=in_progress`, {
  headers: {
    Authorization: `Bearer ${apiKey}`,
    Accept: "application/json",
  },
});

const body = await response.json();

if (!response.ok) {
  console.error("API request failed:", {
    status: response.status,
    code: body.code,
    requestId: body.request_id,
  });

  process.exit(1);
}

console.log(body.data);
Run this code on your server rather than in a public webpage. That keeps the API key private and allows you to cache one response for all your users.
Step 5 — Add live updates
REST is a good starting point and works well for pages that can check an active fixture every 10–15 seconds.
When your product needs score (or prediction-market price) changes to arrive automatically, use the Pro WebSocket feed.
A typical live integration works like this:
- Use REST to find fixtures in progress.
- Retrieve the complete state for the fixture you want to follow.
- Open a WebSocket connection.
- Subscribe to
fixture.<fixture_id>and/ormatch.<match_id>. - Receive an initial snapshot.
- Apply subsequent
match.observationupdates.
You can also subscribe to:
fixtures.live
This topic follows every match currently in progress across all fixtures.
The WebSocket feed is best for live scoreboards, alerts and trading dashboards. REST remains useful for initial state, history and recovery if a live connection needs to resynchronise.
Read REST or WebSockets for Live Pickleball Data? for a fuller comparison.
What should you build next?
Once you can list fixtures and retrieve a scoreboard, you already have the basis of a useful product.
Good first projects include:
- A page showing fixtures in progress
- A live scoreboard for one fixture
- An alert when a fixture begins or ends
- A results and standings page
- A dashboard that records score and market-price changes
- A fixture scoreboard that shows both the current game and the overall lineup progress using
GET /v1/fixtures/{id}/matches
For more inspiration, read What Can You Build With a Pickleball API?.
Frequently asked questions
Do I need a payment card to try the API?
No. New verified accounts receive a 14-day Pro trial without entering card details.
How do I authenticate requests?
Send your API key as a Bearer token in the Authorization header:
Authorization: Bearer pbl_live_YOUR_KEY
Do not pass the permanent key in a query string.
What format does the API return?
REST responses use JSON. Successful responses contain a data value and a meta object with information such as the request ID and provenance/freshness fields.
Why did the live-fixture request return no results?
There may be no MLP fixtures in progress right now. Try the general fixtures endpoint, or repeat the live-status request during an event.
Should I begin with REST or WebSockets?
Begin with REST. It is the quickest way to understand the data and display your first fixture. Add WebSockets once you know which parts of your product need automatic live updates.
More from the blog
- What Can You Build With a Pickleball API? 7 Practical Product Ideas
21 July 2026 · 7 min read
- Pickleball API Performance and Reliability: Building a Better Live-Score Integration
20 June 2026 · 8 min read
- REST or WebSockets for Live Pickleball Data? How to Choose
27 May 2026 · 7 min read